In this tutorial, you will learn how to create your first android app using Cordova. You will learn how to create a simple e-book app contains 5 pages. I will show you on how to use AngularJS and SlideoutJS javascript library to implement the app navigation and animate.css for cool effect to show the e-book content. We will use bootstrap framework as well for the default mobile template. i will divide this tutorial into two parts. First part is the design on the ebook and the second part is on how to package your ebook into an android app.
First of all, as we do not install Android Studio, we are going to install all the perquisite requirements before we start. You will need to install the following SDKs. Please note if all links supplied on this tutorial is no longer work, please use a google search ;-). Please skip any installation if you have already done it.
1. Install Java SE Development Kit.
Please download the windows x64 or x86 version. Most windows operating system now is using x64, so just download this one. Do not worry, if it is not compatible you should receive a message during the isntallation.
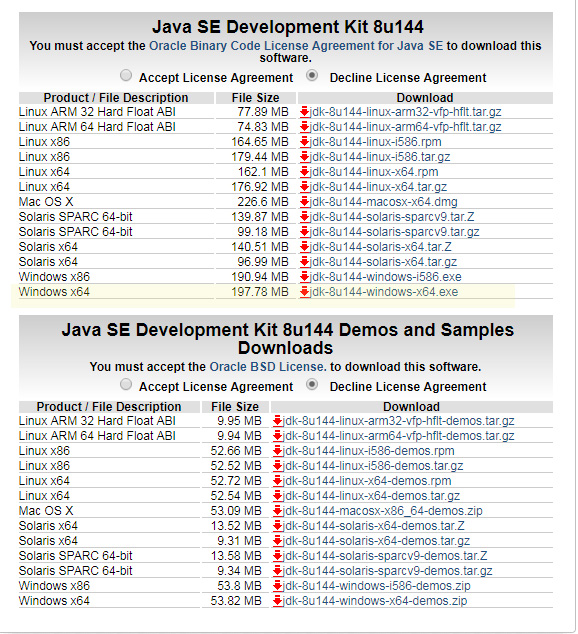
https://www.oracle.com/technetwork/java/javase/downloads/jdk8-downloads-2133151.html
2. Install Android SDK
Please go to the Android studio page and download the Android SDK tools online (Not Android Studio). See below image for more details. Please download the SDK tools for Windows.
https://developer.android.com/studio/index.html

Once the SDK Manager is installed, you can open the SDK Manager and view the available Android API you want to install. I am installating the Android 7.0 (API 24) as shown below. There is a filter option on the screen. Simply untick the option Updates/New and it should listed the current installed API on your Windows.

3. Install NodeJS
Please go to the following url and install the NodeJS windows version.
https://nodejs.org/en/download/
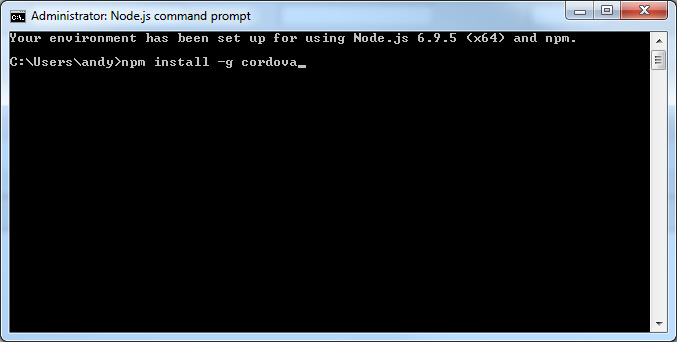
Once the Nodejs has been installed. You will need to install Cordova. Using your Nodejs console and type in the following command.
npm install -g cordova
Once the Cordova has been installed, we can install Phonegap . Phonegap is used only to serve as a server browser so we can view our app directly on a browser. To install a Phonegap use the following command line.
npm install -g phonegap@latest
Once the phonegap has been installed. We can start creating our first app. We are going to name this project as ByTutorialEbook. When you open the NodeJS console, by default the path folder should be under your name account. For example in my PC, it will be c:\users\Andy. Now if you want to create a folder to organise your project you can enter command using mkdir. This command will create a folder into the path you specified. Let's create a folder called cordovatutorials.
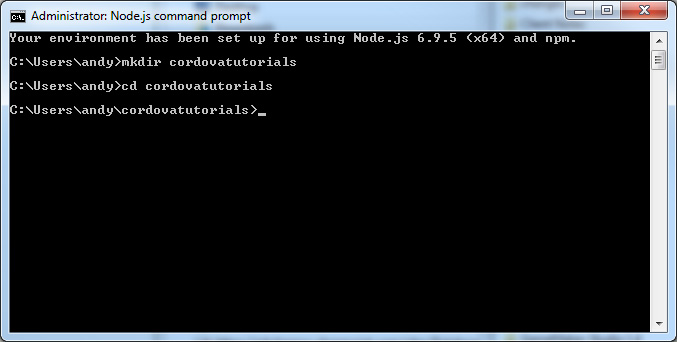
Once the folder has been created, we then create our first cordova project. I am going to name the project as MyEbook. Make sure you are on the cordovatutorials folder by running the following command.
cd cordovatutorials
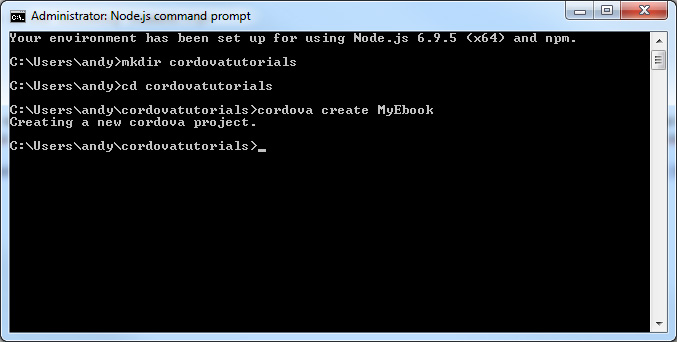
After in the cordovatutorials folder, you can run the following command.
cordova create MyEbook
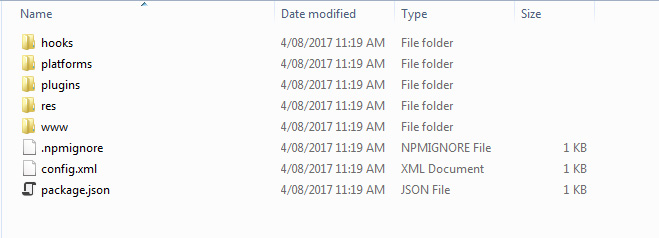
You can see the structure of MyEbook project. All of the app content will be stored under www folder. The main content will be run using index.html file. The next task we need to do is to add an android platform.
Please run the following command in NodeJS.
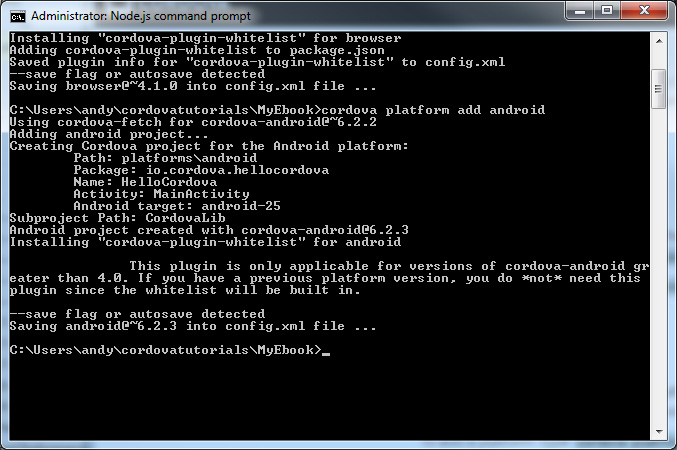
cordova platform add android
Once the android platform have been added, we are now ready to preview our first created app. Please run the following command in NodeJs. This will run a server service using phonegap so we can view our app in browser.
phonegap serve
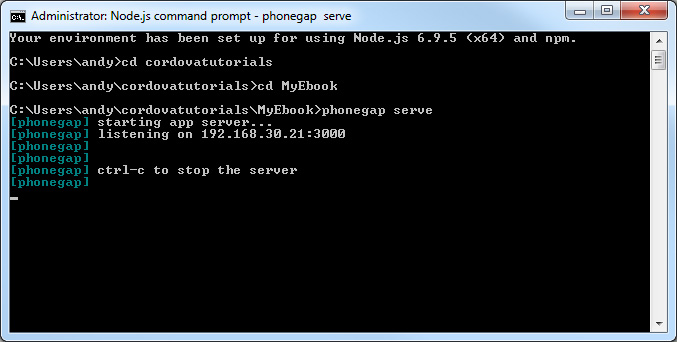
Once you run the command, you should see like below illustration. If you copy the IP address with port no, in this example: 192.168.30.21:3000 into your browser, you should see your app preview.

We need to modify the following files.
- index.html
- css/index.css
- js/index.js
I will explain the changes of each individual files. The first file we need to modify is the index.html file. Please copy and paste the following code or download the file to see directly the modification.
<!DOCTYPE html>
<html>
    <head>
        <meta name="format-detection" content="telephone=no">
        <meta name="msapplication-tap-highlight" content="no">
        <meta name="viewport" content="user-scalable=no, initial-scale=1, maximum-scale=1, minimum-scale=1, width=device-width">
		<!-- STYLES -->
		<link rel="stylesheet" href="css/bootstrap.min.css">
		<link rel="stylesheet" href="css/font-awesome.min.css">
		<link rel="stylesheet" href="css/animate.css">
        <link rel="stylesheet" type="text/css" href="css/index.css">
        <title>My Ebook</title>
    </head>
    <body>
		<!-- MENU PAGES -->
		<nav id="menu" class="menu">
		  <section class="menu-section">
			<h3 class="menu-section-title">Ebook Pages</h3>
			<ul id="menu-list" class="menu-section-list">
				<li><a href="#/">Introduction</a></li>
				<li><a href="#/chapter1">Chapter 1</a></li>
				<li><a href="#/chapter2">Chapter 2</a></li>
				<li><a href="#/chapter3">Chapter 3</a></li>
				<li><a href="#/chapter4">Chapter 4</a></li>
				<li><a href="#/chapter5">Chapter 5</a></li>
			</ul>
		  </section>
		</nav>

		<div id="panel">
			<!-- HEADING -->
			<div id="header-bar">
				ByTutorial.com Ebook
				<button id="main-button" class="btn btn-default" type="button">
					<i class="fa fa-bars" aria-hidden="true"></i>
				</button>
			</div>

			<!-- CONTENT RENDERED BY ANGULARJS -->
			<div id="ebook-wrapper">
				<div id="ebook-content" ng-view></div>
			</div>
		</div>

		<!--  REQUIRED SCRIPTS -->
        <script type="text/javascript" src="cordova.js"></script>
		<script src="js/jquery-1.11.1.min.js"></script>
		<script src="js/bootstrap.min.js"></script>
		<script src="js/angular.min.js" ></script>
		<script src="js/angular-route.min.js" ></script>
		<script src="js/slideout.min.js"></script>
		<script src="js/index.js"></script>
		<script src="js/routes.js"></script>

    </body>
</html>
If you see on above code, I divided into 4 sections of index.html with commments. The first section is to import required css files. I am using the bootstrap for the mobile layout and font awesome for the icon menu. The animate will be used to animate the ebook content page. The default index.css will be just our main style of the page. The next section is the navigation, by default I hide the navigation on the screen, so it will only be displayed when user click the menu button. There is a navigation style placed under the index.css. The next part is the heading and the content section. If you see carefully there is a wording ng-view used by AngularJS to determine where the location of the content will be placed. The last section is the javascripts required to run this ebook. Please note: you will not see cordova.js because this will be automatically added on the run time. So just ignore if you receive any error about the cordova.js could not be found in your web log console.
Let's have a look on two important scripts which are index.js and routes.js files. Below is the full code of the index.js. I have included the comments on each function or declarations, so hopefully it will help you to understand what are they used for.
//create our angularjs app
var bytutorialEbookApp = angular.module('bytutorialEbookApp', ['ngRoute']);

//once the html is ready we attach the angularjs directive app into the body
angular.element(document).ready(function () {
    if (window.cordova) {
      document.addEventListener('deviceready', function () {
        angular.bootstrap(document.body, ['bytutorialEbookApp']);
      }, false);
    } else {
      angular.bootstrap(document.body, ['bytutorialEbookApp']);
    }
});

//this will be the app controller which will be triggered once the html is ready
bytutorialEbookApp.controller('chapterController', ['$scope', function ($scope) {
	/**** INITIATE MENU SLIDE OUT ****/
	var slideout = new Slideout({
		'panel': document.getElementById('panel'),
		'menu': document.getElementById('menu'),
		'padding': 0,
		'tolerance': 70,
		touch: true
	});

	//we add an event to our main button so when user perform a click, we called the slideout function.
	document.querySelector('#main-button').addEventListener('click', function() {
		slideout.toggle();
	});

	//when user taps or clicks particular menu, we hide the slideout
	$("#menu-list > li > a").on("click", function(){
		//we check if we need to close it automatically
		if($("html").hasClass("slideout-open")){
			slideout.toggle();
		}
	});


	//animateMe function
	function animateMe(myObject, animateType, duration){
		$(myObject).addClass("animated " + animateType).css("animation-delay", duration + "s");
	}

	//we add the fadeIn animation with 0.1 seconds, for more information animate css, please google animate.css in your browser, there are varieties of animations available.
	animateMe("#box-content", "fadeIn", 0.1);
}]);
The next script file is routes javascript file. The way how the routes work in AngularJS is by identifying the url path in browser url. In order to configure the routes, we need to use the declaration of app we created which is bytutorialEbookApp. Then we need to inject $routeProvider and $locationProvider in our parameters config. In the version of AngularJS I used in here, it include a prefix of the url route which is !. I prefer to clear them out for easy navigation, so I include the hasPrefix('') to remove the exclamation mark. The way how routes is defined is pretty simple, you just need to specify which path of the route will match and what template and app controller will be used. In this example, we only have 1 controller which is chapterController. The controller will be called once the template is used as spec. You can have as many as you need.
bytutorialEbookApp.config(function($routeProvider,$locationProvider) {
	$locationProvider.hashPrefix('');
	$routeProvider
		.when('/', {
			templateUrl : 'pages/introduction.html',
			controller  : 'chapterController'
		})
		.when('/chapter1', {
			templateUrl : 'pages/chapter1.html',
			controller  : 'chapterController'
		})
		.when('/chapter2', {
			templateUrl : 'pages/chapter2.html',
			controller  : 'chapterController'
		})
		.when('/chapter3', {
			templateUrl : 'pages/chapter3.html',
			controller  : 'chapterController'
		})
		.when('/chapter4', {
			templateUrl : 'pages/chapter4.html',
			controller  : 'chapterController'
		})
		.when('/chapter5', {
			templateUrl : 'pages/chapter5.html',
			controller  : 'chapterController'
		})
});
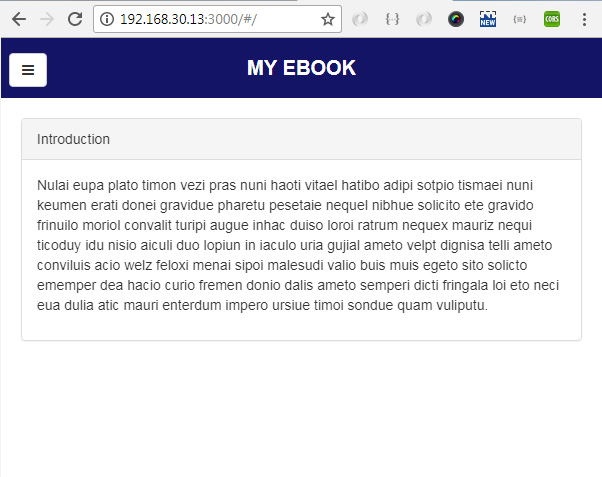
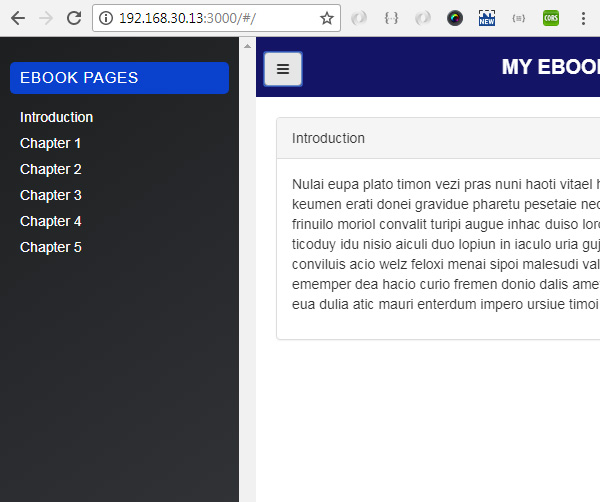
Here are the screenshots of how your cordova app will look like.
Download Demo Files
That's all for today tutorial. The next tutorial, you will learn on how to package your ebook application into android app. So stay tune and keep visit my blog ;-).


