In this tutorial, you will learn how to create your first Web API in ASP.Net Core 2. You will also learn how to deploy your first ASP.Net Core Web API and how to install it on your live server. In addition, I will also demonstrate on how to consume those ASP.Net Core Web APIs using Postman program.
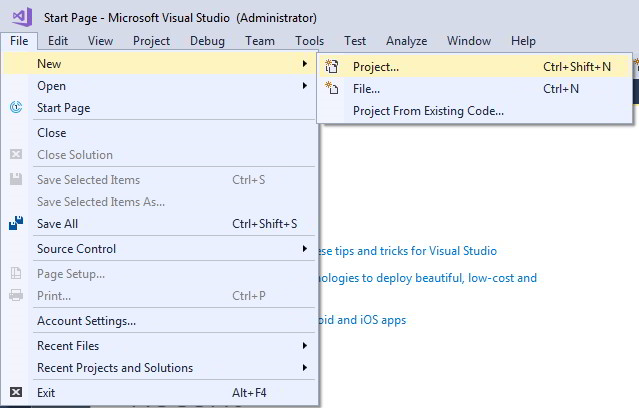
Let's get started with creating a new project in Visual studio 2017 by going to File Menu > New > Project.
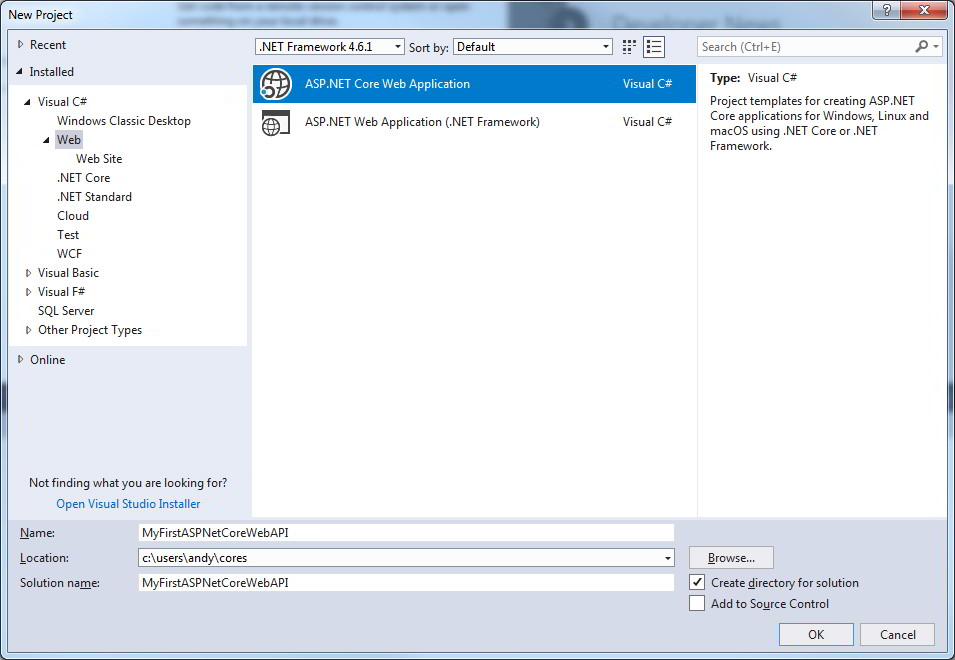
Select the ASP.Net Core Web Application and enter the project name as MyFirstASPNetCoreWebAPI and click OK button. Feel free to change the project name if you prefer.
It will then load a new dialog window to select a template. Make sure the .Net Core and ASP.Net Core 2.0 is selected. Choose an Empty and click OK button.
![]()
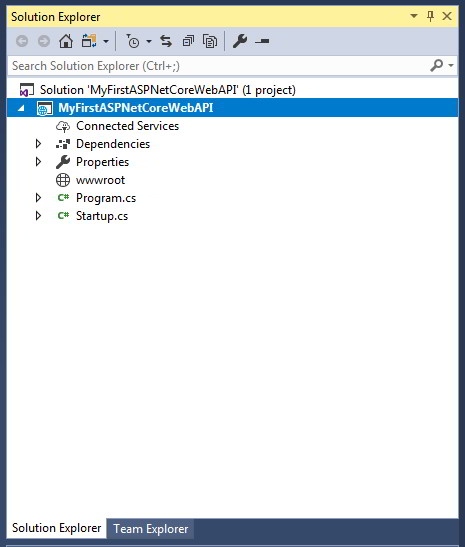
Your new ASP.Net Core project will be created and will have the following files structures.
We are going to modify the Startup class file. What we want to do is to add a start up code for the Web API services. Open the Startup class file and paste the following code.
using System;
using System.Collections.Generic;
using System.Linq;
using System.Threading.Tasks;
using Microsoft.AspNetCore.Builder;
using Microsoft.AspNetCore.Hosting;
using Microsoft.AspNetCore.Http;
using Microsoft.Extensions.DependencyInjection;

namespace MyFirstASPNetCoreWebAPI
{
    public class Startup
    {
        // This method gets called by the runtime. Use this method to add services to the container.
        // For more information on how to configure your application, visit https://go.microsoft.com/fwlink/?LinkID=398940
        public void ConfigureServices(IServiceCollection services)
        {
            services.AddMvcCore();
        }

        // This method gets called by the runtime. Use this method to configure the HTTP request pipeline.
        public void Configure(IApplicationBuilder app, IHostingEnvironment env)
        {
            app.UseMvc(builder =>
            {
                builder.MapRoute("default", "api/{controller}/{action}/{id?}");
            });
        }
    }
}
In order for the Web API to work, we need to add the MVCCore service in the ConfigureServices method and add the Web API routing option in the Configure method. Once we have set our Startup class, we can now add our first Web API Controller. To organise our Web API files, let's create a folder named WebAPI.
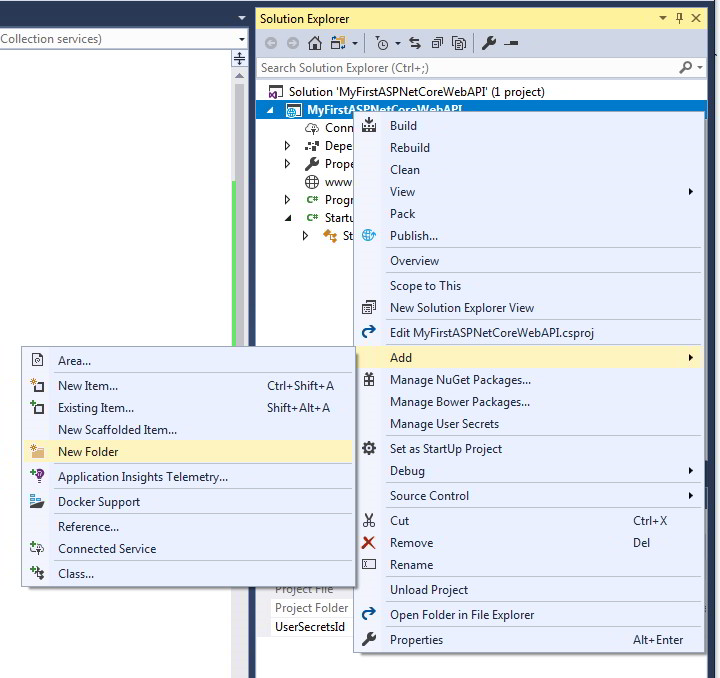
Right click of the new created folder and Click Add menu > New Item.
Then choose add the Web API Controller and name the API controller as TestingController.

Open the TestingController.cs file and paste the following code. Wha we are going to do is to add multiple example of API Method that will perform HttpGet and HttpPost methods.
using System;
using System.Collections.Generic;
using System.Linq;
using System.Threading.Tasks;
using Microsoft.AspNetCore.Mvc;
namespace MyFirstASPNetCoreWebAPI.WebAPI
{
[Route("api/[controller]")]
public class TestingController : Controller
{
//Get /api/testing
[HttpGet]
public string Get()
{
return "Welcome to your first ASP.Net Core Web API Tutorial.";
}
//Get /api/testing/value1
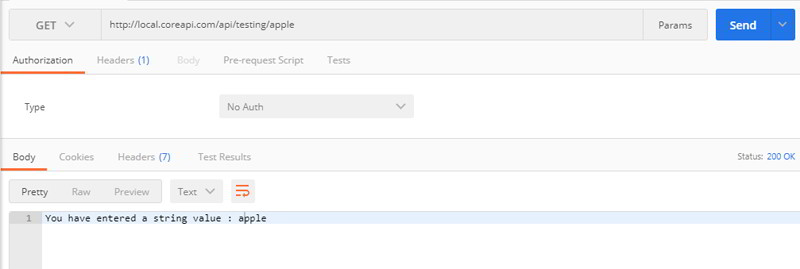
[HttpGet("{value}")]
public string Get(string value)
{
return "You have entered a string value : " + value;
}
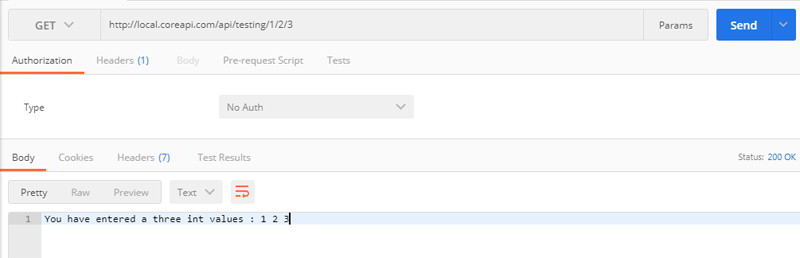
//Get /api/testing/value1/value2/value3
[HttpGet("{value1}/{value2}/{value3?}")]
public string Get(int value1, int value2, int? value3)
{
if (value3.HasValue)
{
return "You have entered a three int values : " + value1 + " " + value2 + " " + value3;
}
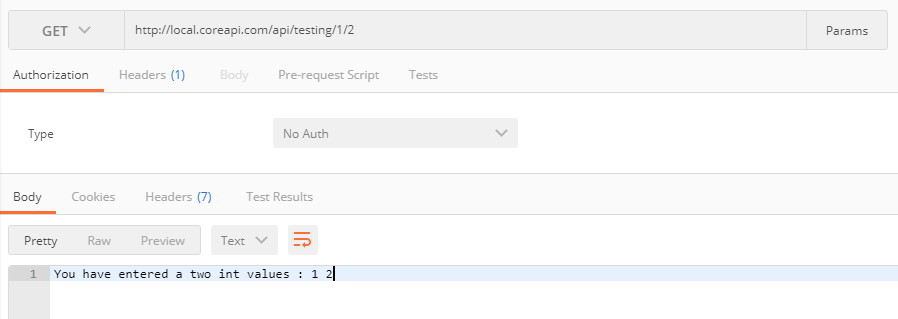
else
{
return "You have entered a two int values : " + value1 + " " + value2;
}
}
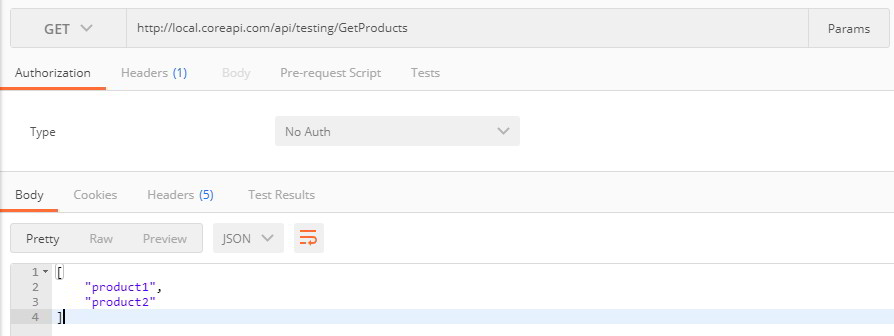
//Get /api/testing/GetProducts
[HttpGet("GetProducts")]
public IEnumerable<string> GetProducts()
{
return new string[] { "product1", "product2" };
}
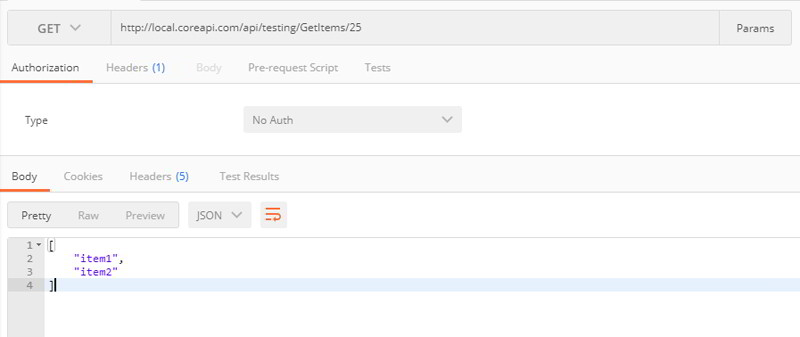
//Get /api/testing/GetItems/2
[HttpGet("GetItems/{value}")]
public IEnumerable<string> GetItems(string value)
{
return new string[] { "item1", "item2" };
}
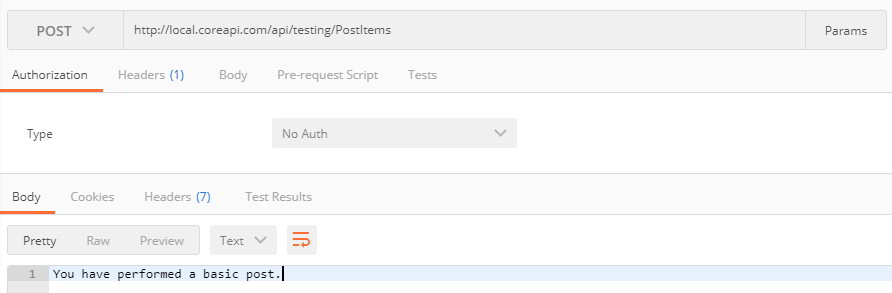
//Post /api/testing/PostItems
[HttpPost("PostItems")]
public string PostItems()
{
return "You have performed a basic post.";
}
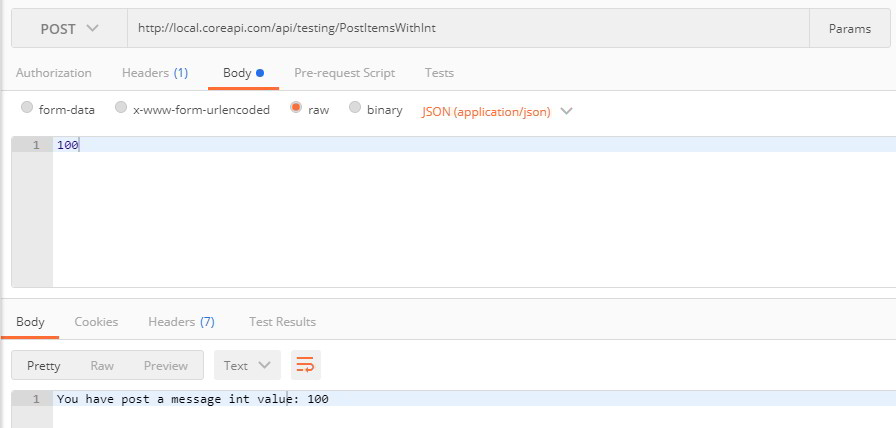
////Post /api/testing/PostItemsWithInt
[HttpPost("PostItemsWithInt")]
public string PostItemsWithInt([FromBody] int num)
{
return "You have post a message int value: " + num.ToString();
}
}
}
One thing to remember, if you do not specify the routing name, the method has to contain unique parameters types. See the following example:
//Get /api/testing/value1
[HttpGet("{value}")]
public string Get(string value)
{
	return "You have entered a string value : " + value;
}

//Get /api/testing/value1
[HttpGet("{value}")]
public string Get2(string value)
{
	return "This is the second method. You have entered a string value : " + value;
}
Although above both methods have different name but contains the same string parameter types, this will cause a problem. To fix this issue, you can include a routing name. See the following example to fix above issue.
//Get /api/testing/value1
[HttpGet("{value}")]
public string Get(string value)

{
	return "You have entered a string value : " + value;
}

//Get /api/testing/Get2/value1
[HttpGet("Get2/{value}")]
public string Get2(string value)
{
	return "This is the second method. You have entered a string value : " + value;
}
At the end of article, I will show you how we can consume the ASP.Net Core Web API using Postman program.
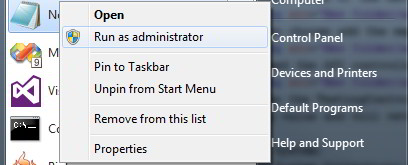
Open the Notepad program by right click and run As Administrator as we are going to edit hosts file.
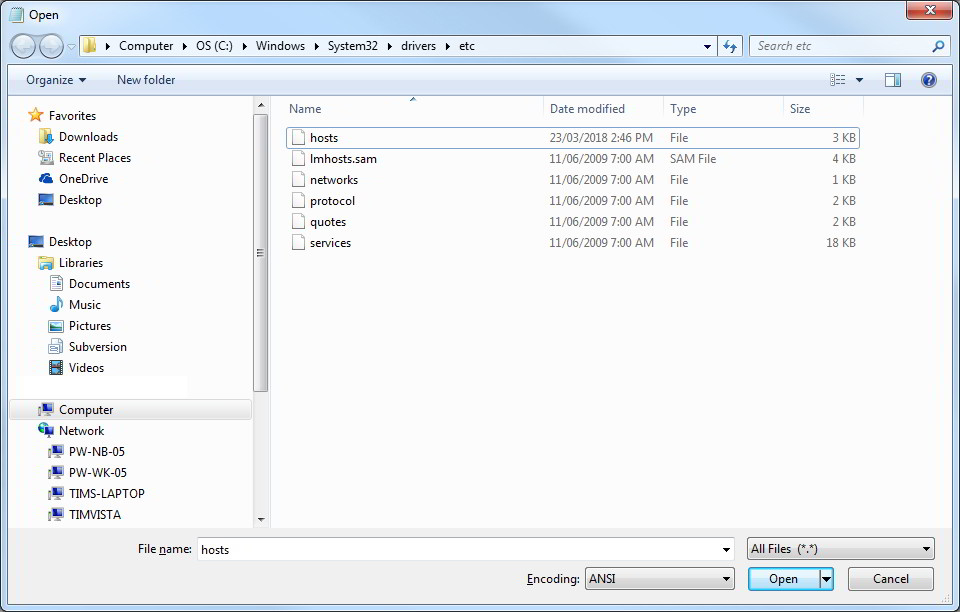
Then open the hosts file.
In the hosts file, please add the following domain address. Note: You change the host name to any domain address.
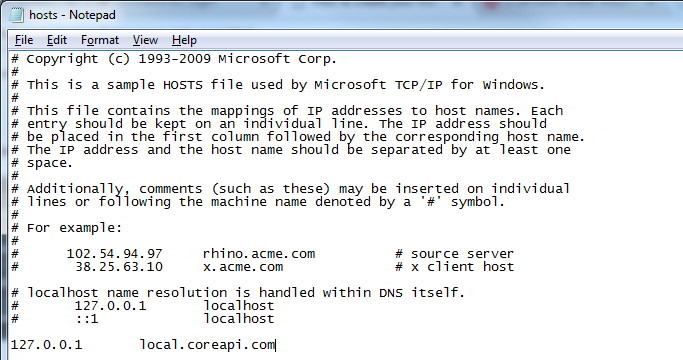
127.0.0.1 local.coreapi.com
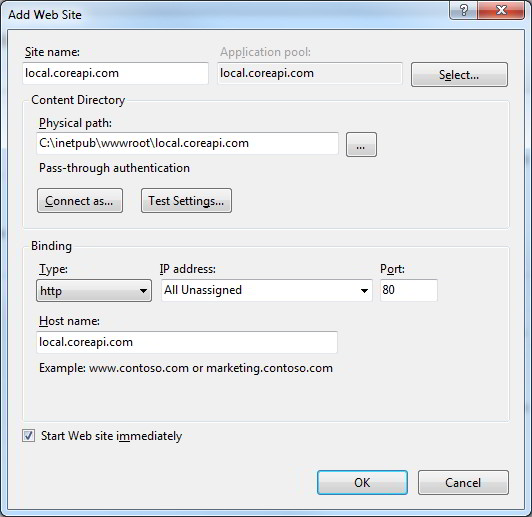
The next step is to create a new IIS local site. Open your IIS manager and Add a New Website. Note if you do not have IIS, you can just debug the site by pressing F5. The reason I use IIS so I can show you how to run the site on your local computer. Add the information like below.
Under the application pools section in IIS. Select the local.apicore.com application pool and right click and select Advanced Settings. Set the ASP.Net framework to No Managed Code. ASP.Net runs in a separate process and does not rely on loading the CLR. So there is no need to set the .Net CLR version. Then set the identity to ApplicationPoolIdentity.

The next important part is to setup the security folder of local.apicore.com. We need to give the read and write access for the local.coreapi.com application pool. Right click the folder of local.apicore.com in the wwwroot and select Properties. In the Security Tab, click the Edit button.
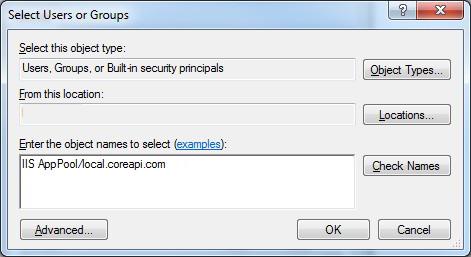
Then click Add button, and add the user IIS AppPool/local.coreapi.com.
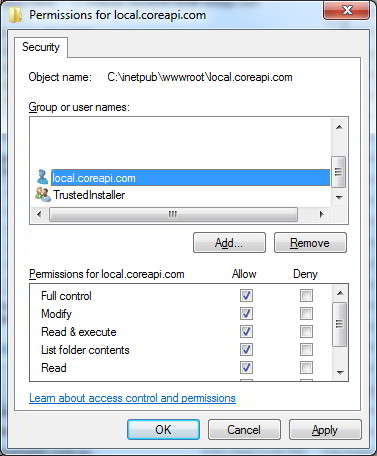
Grant the user permission as below.
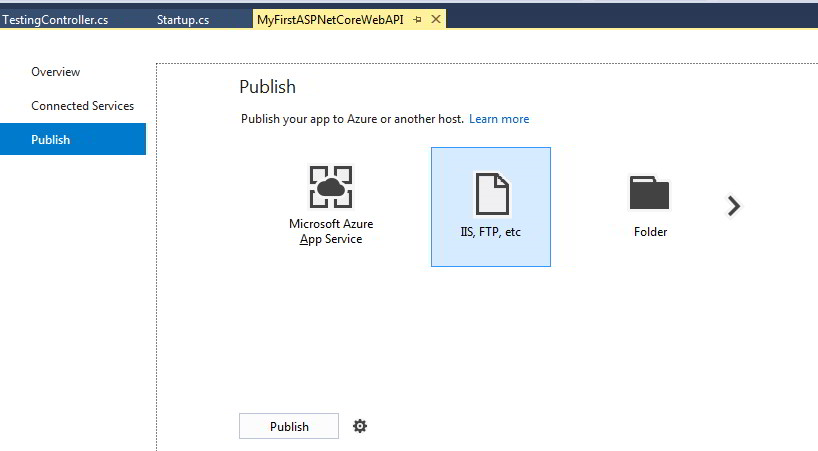
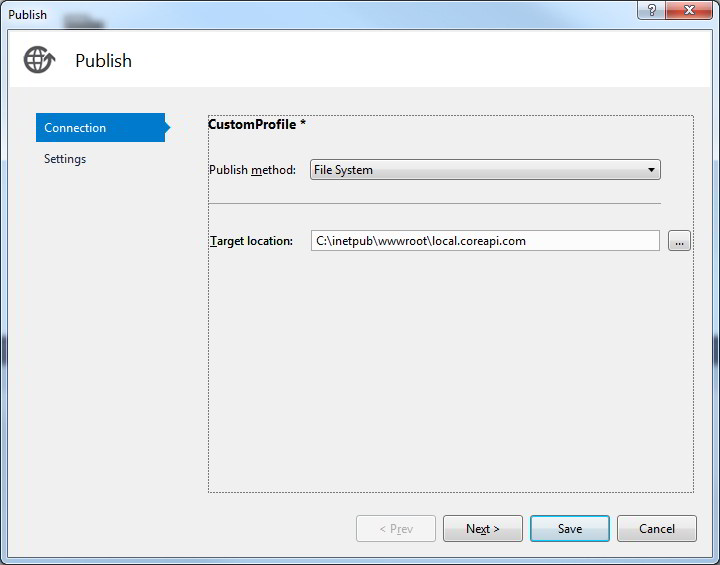
It is time to published our First ASP.Net Core API project. Firstly we need to create our profile for deployment. Right click of the project and select Publish.

In the publish app section, choose the midlle option which is (IIS,Ftp,etc) and click Publish button.
Choose the publish method as File System and specify the location of the IIS site click Next and Save.
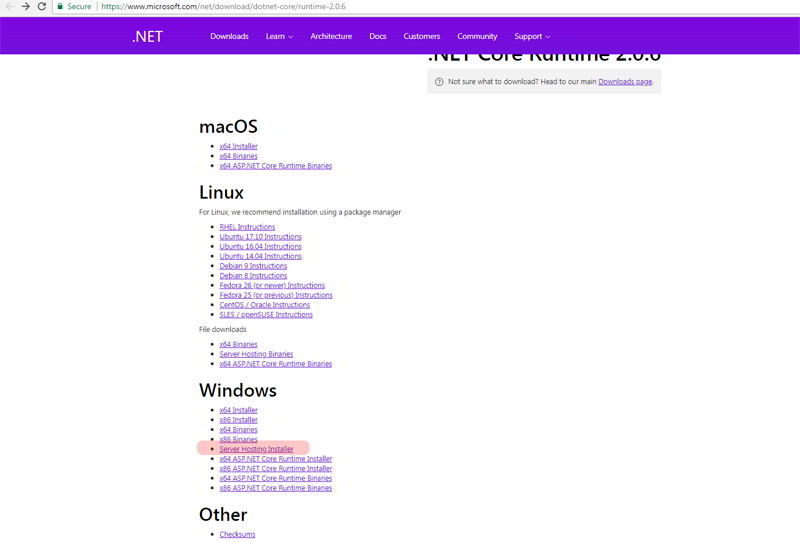
Once the profile deployment has been saved and the files will be published on the selected IIS site folder. The next part is to install the .Net Core Windows Server Hosting Bundle. Please go to the following url and download the latest version of Server Hosting Installer. This need to be installed otherwise you will receive Http Error 500.19 Internal Server Error.
https://www.microsoft.com/net/download/dotnet-core/runtime-2.0.6
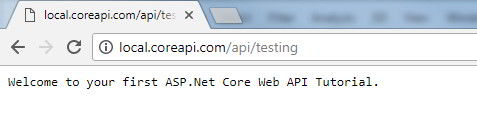
Once the installer has been installed, you may want to restart your IIS. You can now start view your Web api by browsing the following url in your browser.
http://local.coreapi.com/api/testing
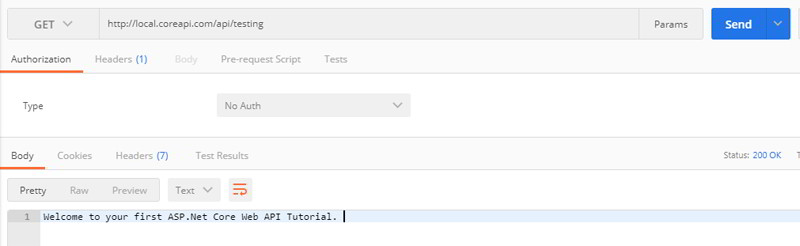
Here is a list of screenshots of using Postman program to consume our ASP.Net Core Web API.
Download Files
You can download the ASP.Net Core Web API example on the following link.
If you need further help or have any questions, feel free to post your comment or question below.