In this tutorial, you will learn how to install Node.js on Windows. Before we started, you may want to know what is a Node.js is and what it is for?
Node.js is an open-source platform used to build scalable applications using Javascript. It is lightweight and efficient in handling multiple concurrent connections. Therefore if you want to build real-time applications and data-intensive applications you may want to consider to use Node.js as the server application.
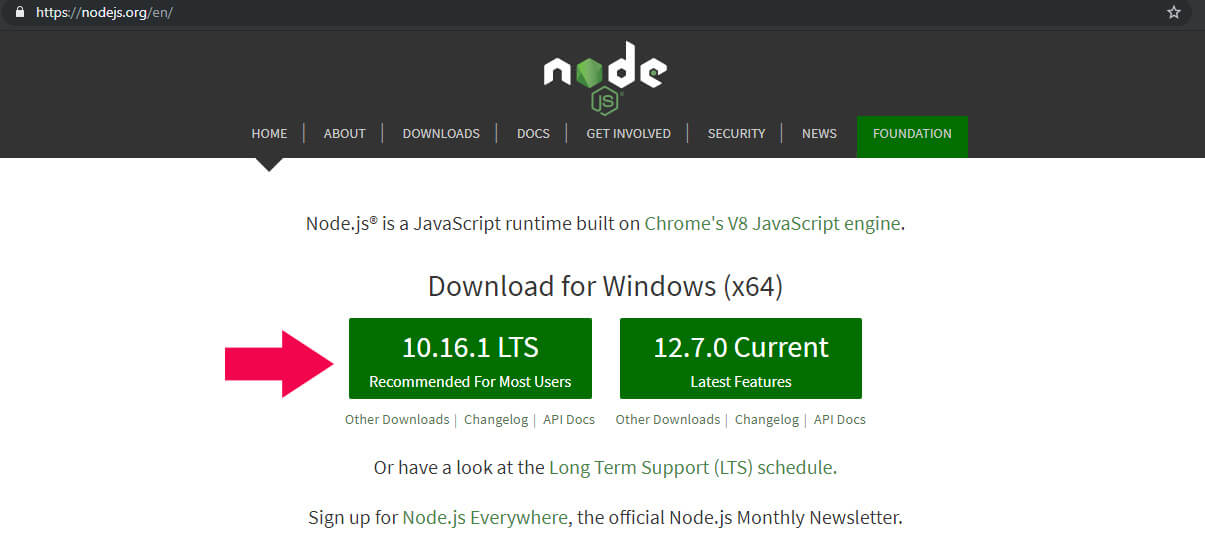
To install the Node.js in Windows is pretty simple. What you need to do is to visit the following site.
https://nodejs.org
Download the version that is recommended for most users use. The file type should be in .msi extension file type.
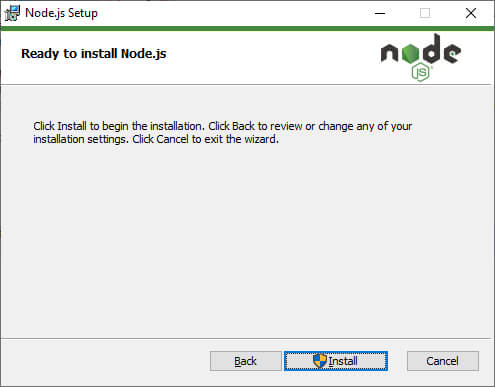
Once download, double click the setup file and proceed the installation. Click the Install button. Make sure you have the right access to install the software.
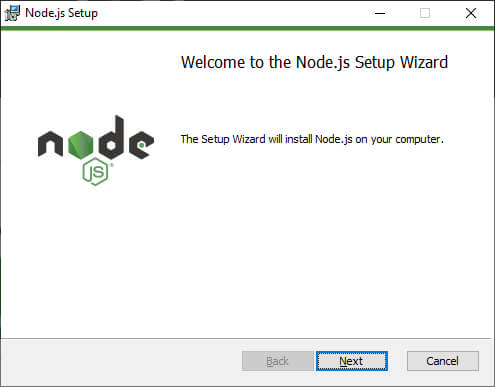
Click the Next button.
You can review the software license. Once you are ok with that, you can click the Next button.

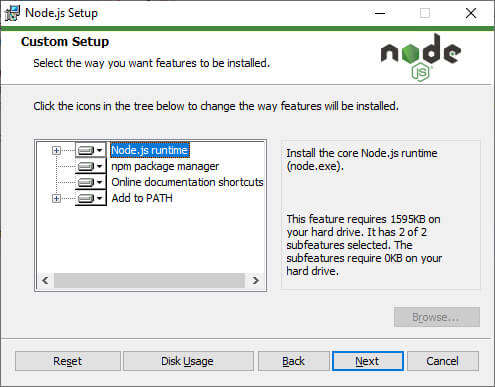
Specify the Node.js features you want to install. Just use the default recommended features. Then click the Next button.
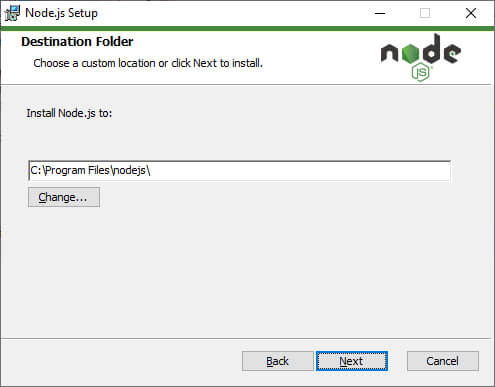
Specify where do you want to install the location of Node.js. I will leave it to the default installation path. If you want to change, click the Change button. Then click the Next button to start the installation.
If everything is fine, you should see a message mentions the Node.js setup wizard has been successfully installed.
Alternatively, you can easily check by opening a command prompt and type in the following code.
node-v
The above code will print out the version of the node.js on your computer.
